|
Using videotapes of the Shadow scout I've reverse- engineered its
3D structure and
used Raydream 3D Studio to make a 3D model. The battle between the Shadow
scout and the White Star in
Shadow Dancing was the main reference.
If you're unfamiliar with the show, see sections entitled
"Shadows" in the
second season and
third season background summaries on the
Lurkers Guide to
Babylon 5 for more information. |
Images

|
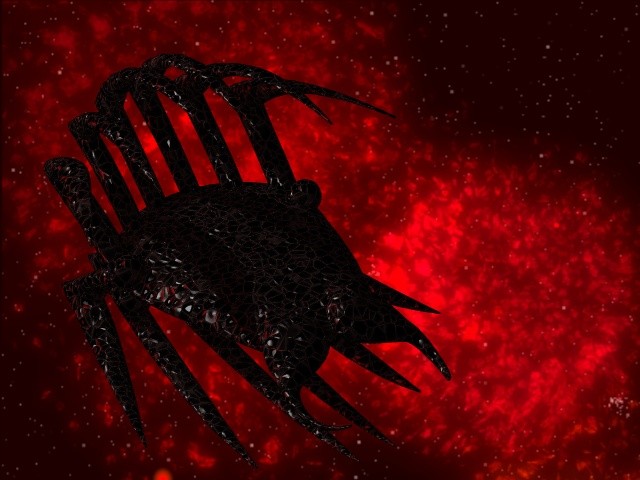
Shadow Scout on debris-filled nebula
(67 KB JPEG)
The 3D model was rendered using a background
in which the stars and clusters were made using the
Universe program and combined with a nebula created by applying the explosion deformer to cellular-shaded spheres in Ray Dream 3D Studio.
|

|
Color-Coded Shadow Scout (34 KB
GIF)
The same 3D model of the shadow scout in the same orientation as the
above image was rendered with different sections
of the ship in a different primary colors. You can see the
structure of the scout more clearly.
|
|
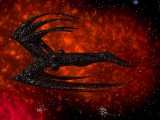
Side View of Shadow Scout (63 KB
JPEG)
Against a different part of the same nebula image, a side view makes the
bottom bulge on the ship visible.
|
3D Model Details
The body of the scout is formed of two free-form objects joined base-to-base. I have found this technique better at creating shapes that have rounded ends at both the front and the back than trying to do things with a single extrusion envelope. The key to making this technique work is to get exactly the same starting cross section for both objects (make sure to turn on 'snap to grid' in the free form modeller). You also need to make sure that the Bézier handles are pointing perpendicular to the base plane.
I used the free form modeller in pipeline mode to create the spines. I started by making a single top spine (one of the center ones) and then copied that twice to make the more outlying spines. The spines were duplicated (keeping the same master object) to make the matching spines on the other side and the duplicated again (new master objects this time) to create the bottom spines. The pointy backward-facing part of the spine was created by bending the Bézier handles so that they formed an acute angle.
Once again I used the cellular shaded to get the skin of the scout right. I ran into an unexpected problem shading the 4 waist spheres. Originally, the spheres had been created with the sphere primitive, with a scaling of 10% to to get the size right. Unfortunately, this also changed the scale of the cellular shader. I could not find a way to fix this (I would have had to change the shaders 'global scale' value to an illegal 240% to fix things that way). My solution was to model the spheres using the free form modeller to make half-spheres and then gluing everything together. I hope that the next version of Ray Dream Studio gives more control over shader scaling (either a control on the object that lets you adjust the shader scale or a larger 'global scale' range).
I'm interested in feedback on the model. Let me know how close you think
it is to the real thing on the show, and what modifications you
would suggest to get it closer. |
3D Model Files
Feel free to create your own renderings or modify the models.
Please include a link back to this page if you put any of the
results up on the WWW.
You can E-mail me if
you would like me to add you to a list of people I notify when
I put up new or revised models on this site. |
|